
The Pre-Drywall Low-Voltage Checklist Every North Carolina General Contractor Needs
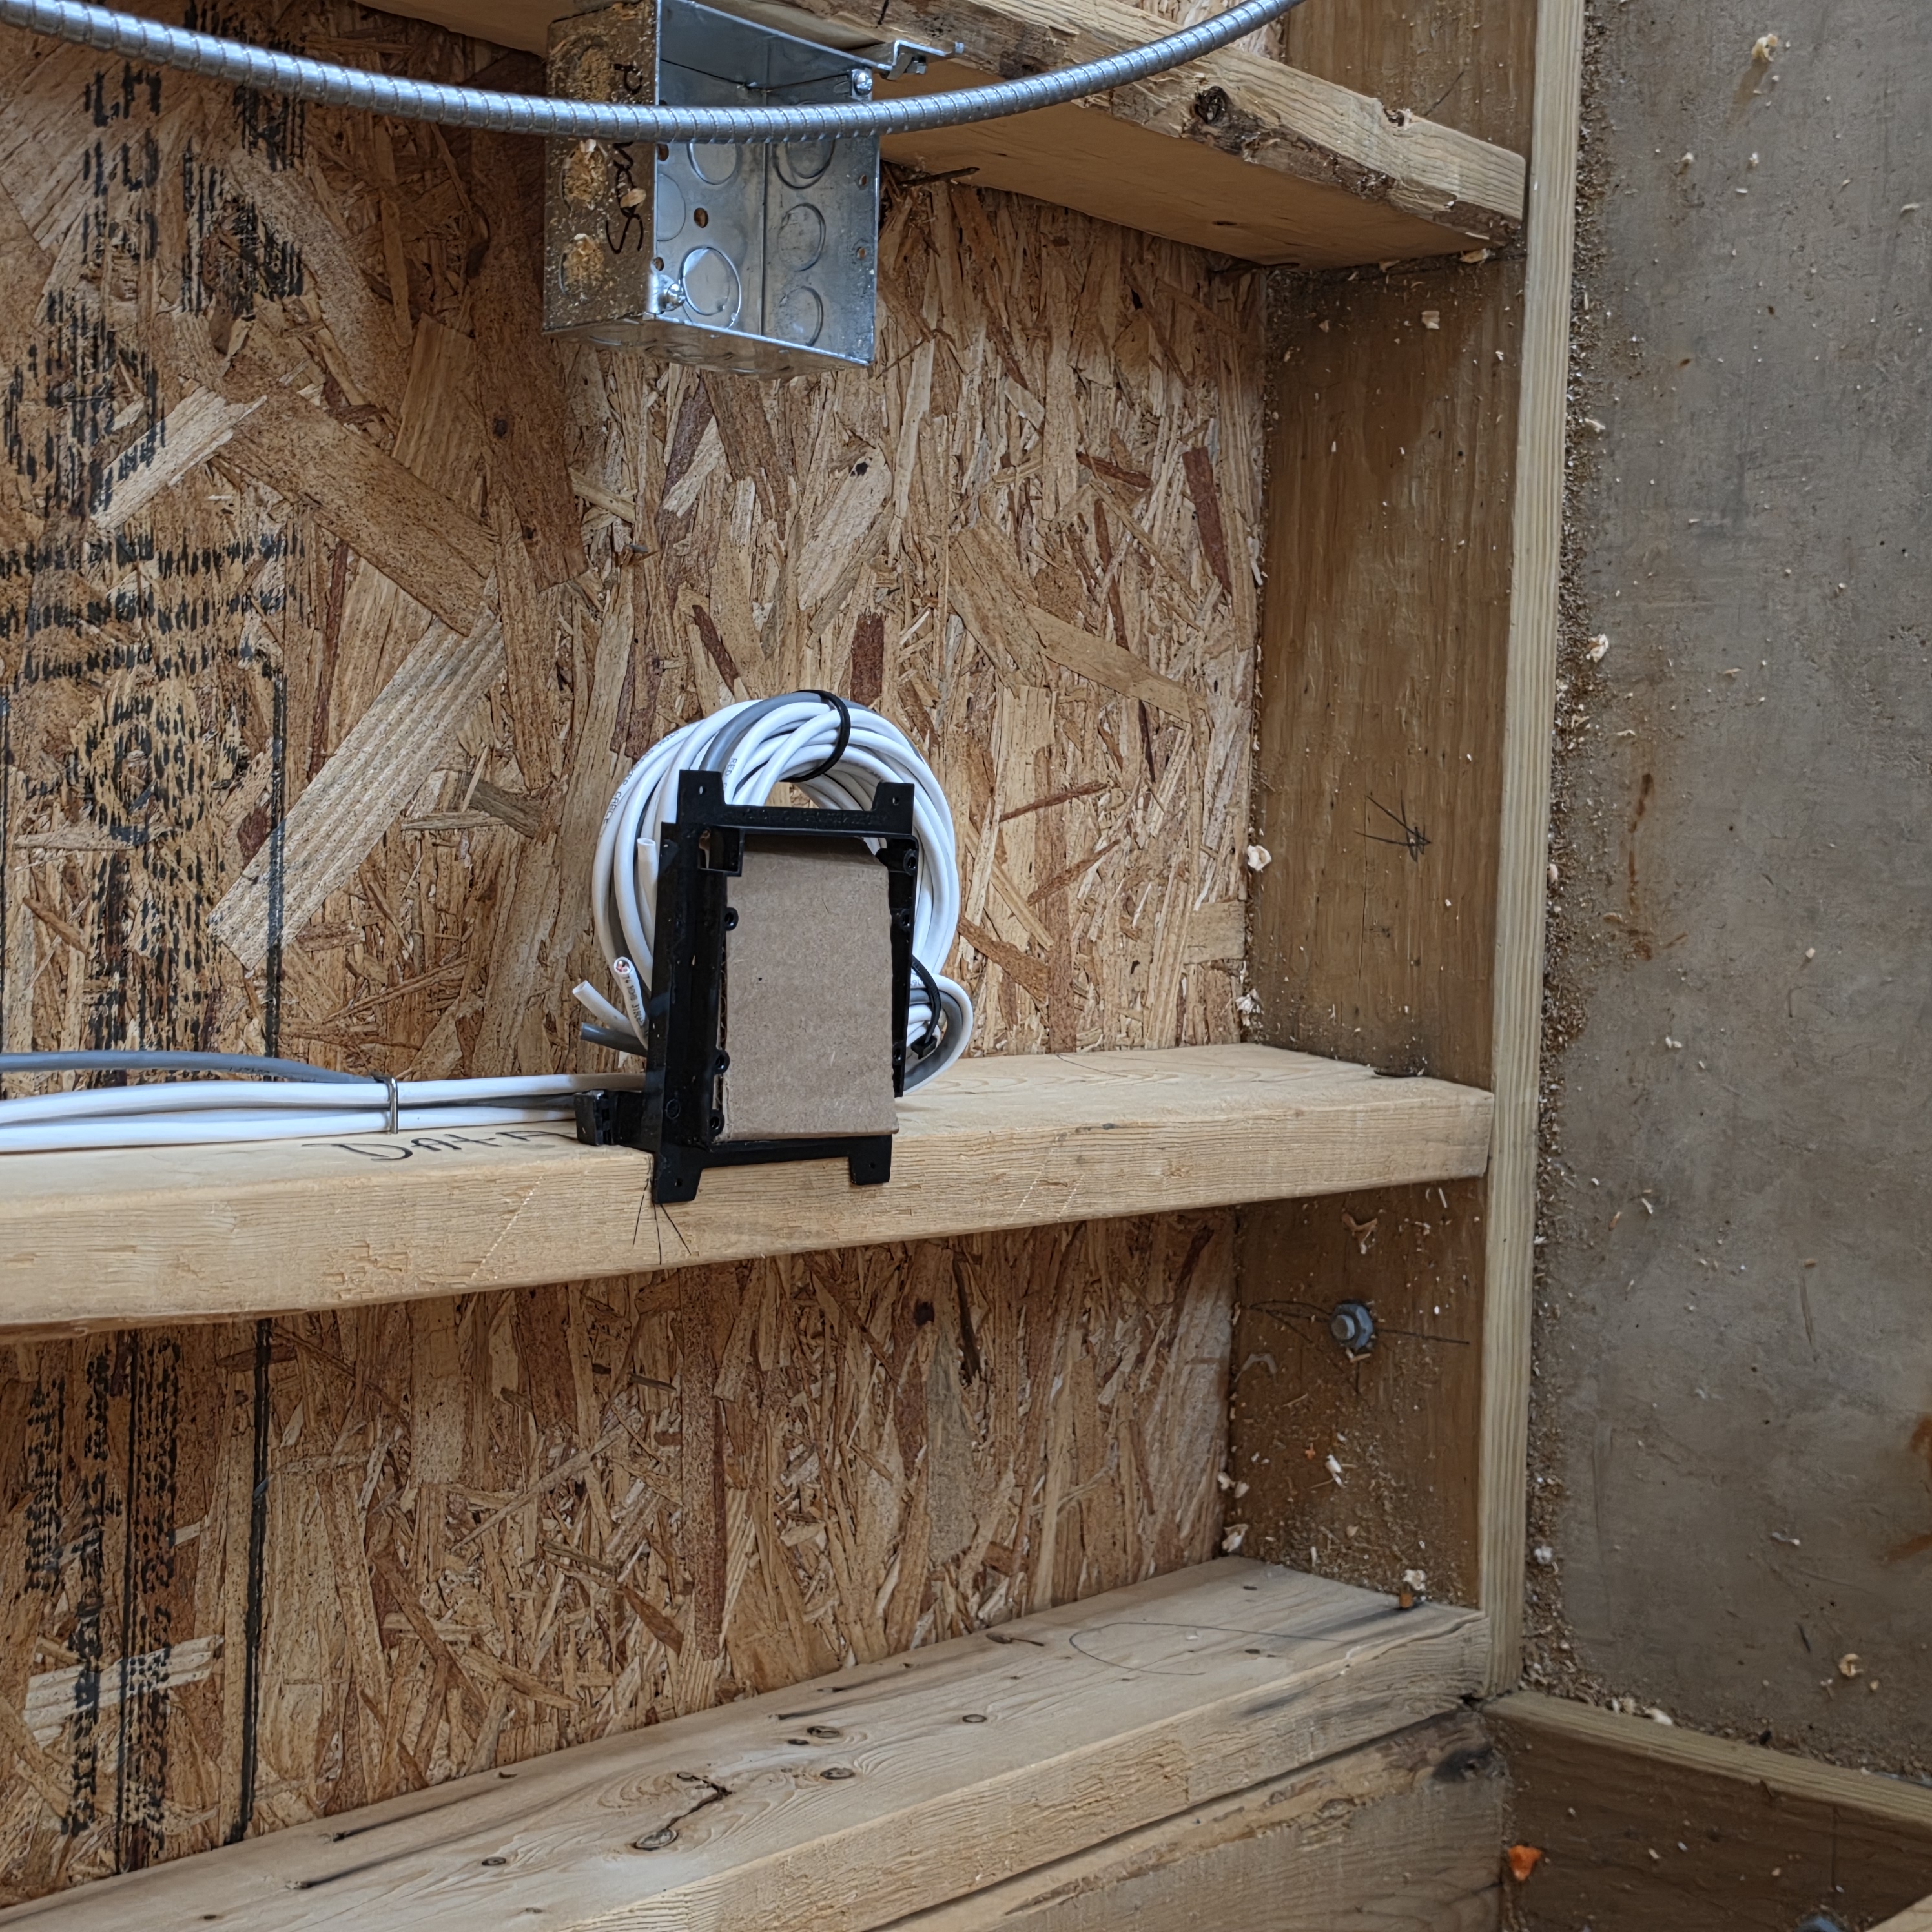
The Pre-Drywall Low-Voltage Checklist Every North Carolina General Contractor Needs

Clear submittals. Labeled drops. Inspection-ready rough-ins.
For a general contractor, the pre-drywall window is one of the most important coordination points in the build. The walls are open. Pathways are visible. Cable locations can still be corrected without cutting finished surfaces.
Once insulation and drywall go in, every missed drop becomes more expensive.
A properly managed low-voltage rough-in protects the schedule, reduces rework, and gives the trim-out team the documentation needed to finish the system without guesswork. Carolina AV Group engineers structural low-voltage rough-ins for general contractors across Eastern North Carolina, from initial plan review through final trim-out.
Why the Rough-In Window Matters
Low-voltage systems often connect multiple trades and project phases. Data, distributed audio, displays, security devices, access control, wireless access points, cameras, and control keypads all require accurate locations and usable pathways.
The pre-drywall stage is the last practical opportunity to verify those systems while they remain accessible.
North Carolina inspection procedures and local requirements vary by jurisdiction. Confirm the specific expectations with the authority having jurisdiction, or AHJ, before scheduling inspection. The state’s pre-drywall inspection guidance provides a useful reference point for coordinating the open-wall inspection phase.
The operational standard is simple:
Installed. Labeled. Documented. Ready for closure.
The Seven-Point Checklist
1. Confirm Every Pathway
Start with the physical route from each device location to the central distribution point.
Review the approved plans and confirm that pathways are complete for:
- Data and network drops
- Wireless access points
- Displays and televisions
- Cameras and security devices
- In-wall and ceiling speakers
- Conference room devices
- Control keypads and touch panels
- Motorized shades and other low-voltage equipment
- Future conduit and spare pathways
Verify that wall brackets, mud rings, conduit, and cable routes match the plans. Check that penetrations are properly located and that cables are not pinched, kinked, over-bent, or resting in a way that could damage them.
Coordinate pathways with framing, electrical, HVAC, plumbing, and fire-stopping requirements. A clean route on paper is not enough. The route must work in the field.
2. Verify the Central Location
Every project needs a defined home for its low-voltage infrastructure.
That may be a structured media enclosure, communications closet, MDF, IDF, equipment room, or dedicated headend rack location. Confirm the space before drywall closes.
Review:
- Equipment clearances
- Wall backing and mounting surfaces
- Power availability
- Ventilation and thermal management
- Service access
- Conduit entry points
- Cable bend radius
- Separation from line-voltage systems
- Future expansion capacity
For commercial projects, this step is especially important. A rack or headend location affects cable lengths, equipment access, maintenance, and final system performance.
The Carolina AV Group commercial AV team coordinates structured cabling, headend racks, distributed video, conferencing, digital signage, and control systems as one connected scope.
3. Confirm Home Runs and Cable Counts
A low-voltage drop is only useful if it reaches the correct destination.
Verify that each cable:
- Runs to the designated panel, closet, or rack
- Reaches the endpoint with sufficient service loop
- Matches the approved cable type
- Is routed without unnecessary splices
- Is supported correctly
- Is protected from damage
- Is separated from sources of electrical interference where required
- Is installed in the correct room and device location
Confirm cable counts against the plans and equipment schedule. One missing data drop may affect a workstation. One missing pathway may affect an entire display system.
For systems that may expand over time, confirm that spare conduits include pull strings and have a documented destination. Future-ready infrastructure only has value when the pathway is usable and clearly identified.

4. Label Both Ends of Every Run
Labeling is not a trim-out task. It begins at rough-in.
Every cable should have a permanent, readable label at both ends. The labels must match the cable schedule, drawings, and final rack or panel layout.
Use a consistent naming standard that identifies the:
- Building or floor
- Room
- Device type
- Drop number
- Destination panel or rack
For example:
1F-CR-AP-01
First floor. Conference room. Access point. Drop 01.
The specific format can vary. Consistency cannot.
Label spare conduits, future pathways, bundled cables, and equipment tails. Group cables by room, system, and destination without creating excessive tension or congested bundles.
A labeled rough-in gives the next trade a clear handoff. A mislabeled rough-in creates questions, delays, and avoidable troubleshooting.
Labeled at the wall. Labeled at the rack. Mapped to the plan.
5. Photograph and Document the Open Walls
Open-wall photography is part of the project record. It is not an optional convenience.
Capture each room and major pathway before insulation and drywall conceal the work. Take photos from consistent positions and include enough surrounding structure to identify the location later.
Document:
- Cable routes
- Device locations
- Blocking and backing
- Conduit stubs
- Hidden junction points
- Equipment locations
- Panel and rack pathways
- Penetrations and fire-stopping
- Approved field changes
- Conditions requiring correction
Use room names, floor plans, or photo tags to organize the record. A folder of unmarked images is difficult to use. A mapped photo set becomes a reference for trim-out, maintenance, future renovations, and owner questions.
6. Complete As-Builts and Field Markups
Construction plans change. A display moves. A conference room gains an additional camera. A rack shifts to accommodate another trade.
Record those changes before the walls close.
The low-voltage project file should include:
- Approved plans
- Cable and endpoint schedules
- Labeling legend
- Equipment location notes
- Rack or closet layouts
- Conduit routes
- Spare pathway locations
- Open-wall photographs
- Test or verification results, where applicable
- Approved field changes
- Final markups for as-built drawings
The goal is not paperwork for its own sake. The goal is a usable handoff.
A future technician should be able to identify what was installed, where it terminates, and how it was intended to operate without opening walls or tracing every cable manually.
7. Prepare for Inspection and Trim-Out
Before calling for inspection, walk the project as if you will need to explain every low-voltage location.
Confirm that:
- Rough-in work is complete
- Cable tails are visible and accessible
- Device locations match the plans
- Brackets and boxes are installed
- Central equipment locations are ready
- Conduit and pull strings are in place
- Required fire-stopping is addressed
- Labels are readable
- Documentation is organized
- Approved plans are available on site
- Open issues are recorded and assigned
Coordinate with the electrical subcontractor and other trades before the inspection walk. Confirm what the local AHJ expects for low-voltage work, and include any required corrections in the project closeout process.
Then complete a GC, owner, or builder walkthrough while the walls remain open. This is the time to verify that the installed scope matches the approved selections and current project requirements.
Not after drywall. Not during final trim.
How Documentation Saves Money at Trim-Out
Trim-out should be installation and commissioning. It should not become an investigation.
When the rough-in is labeled and mapped, the trim-out team knows which cable belongs to each device. The rack layout is easier to build. Terminations are faster to verify. Equipment can be installed with fewer interruptions to other trades.
That reduces:
- Cable tracing
- Wall access requests
- Failed inspections
- Device relocation
- Duplicate pulls
- Change-order disputes
- Delays between rough-in and final installation
- Troubleshooting caused by unclear terminations
The savings are practical. Less labor. Fewer return trips. Cleaner coordination.
A documented rough-in also gives the GC a stronger project record. Questions about a concealed pathway, device location, or field change can be answered with plans and photos instead of assumptions.

One Accountable Low-Voltage Partner
The rough-in is connected to the finished system. The contractor handling the pathways should understand the final equipment, rack requirements, control points, and user experience.
Carolina AV Group works with general contractors from pre-construction through final trim. Our pre-wire and low-voltage rough-in process is built around:
- Organized submittals
- Plan and schedule coordination
- Labeled and mapped drops
- Structured media panels
- Fiber and backbone pathways
- Open-wall photo documentation
- Clean as-built handoffs
- Final trim and system commissioning
We bring more than 30 years of technical leadership to each project. We are also 100% veteran-owned and operated, with a field-tested standard for preparation, accountability, and execution.
Clear pathways. Documented work. Timelines we hold.
Ready for the Pre-Drywall Walk?
Send the architectural plans, specifications, project location, and schedule through our bid request page.
We will review the scope and return a clear, itemized low-voltage bid with the coordination points, deliverables, and next steps defined.
Labeled. Documented. Ready for trim-out.


