

Acoustic panels belong where the speakers, seating, and finishes are planned together.
Acoustic panels belong where the speakers, seating, and finishes are planned together.
A cinema wall is more than a display surround. Its cabinets, hard finishes, speakers, and acoustic panels all affect how sound moves through the room. Plan those elements together, and the result can look like part of the home while supporting clear dialogue and controlled reflections.
Start with the room, not the panel
Panel placement depends on the speakers and the main listening position. Establish those locations first. Then plan the display size, media-wall composition, and acoustic treatment around the people who will use the room.
The seating position matters because it defines where sound should arrive and where early reflections may interfere. It also helps set a comfortable display size and viewing angle. A panel layout designed without the seats in mind may look balanced on the wall but miss the parts of the room that affect listening.
For a custom build, renovation, bonus room, or dedicated media room, coordinate these decisions before finishes and framing are locked. The custom media wall design process brings display integration, cabinetry, audio, and room treatment into the same conversation. Carolina AV Group provides residential AV integration for homes and renovation projects across Eastern North Carolina, with room treatment planned alongside the display, the speakers, and the wall.
Room first. Then the wall.
Confirm seating, display, and speaker positions before fixing panel locations.
1. Treat the first reflections
Sound reaches the listener directly from a speaker, then reflects off nearby surfaces. Those early reflections can blur dialogue and make left-to-right placement less distinct.
The first-reflection points are the areas on the side walls, and often the ceiling, where sound from the front speakers reaches the listener after bouncing off a surface. Once the speaker and seat locations are established, a simple mirror check can help locate them: from the main seat, mark where each speaker becomes visible in a mirror moved along the side wall. This is a useful planning reference, not a replacement for a complete room assessment.
Designer acoustic panels placed at the relevant reflection points can reduce those early bounces. Their size, depth, and construction matter. A thin decorative panel may change the appearance of a wall without providing meaningful control across the frequencies that affect listening. Proper acoustic control depends on the panel’s construction and how it is installed, not just its fabric or pattern.
2. Coordinate the front wall and speakers
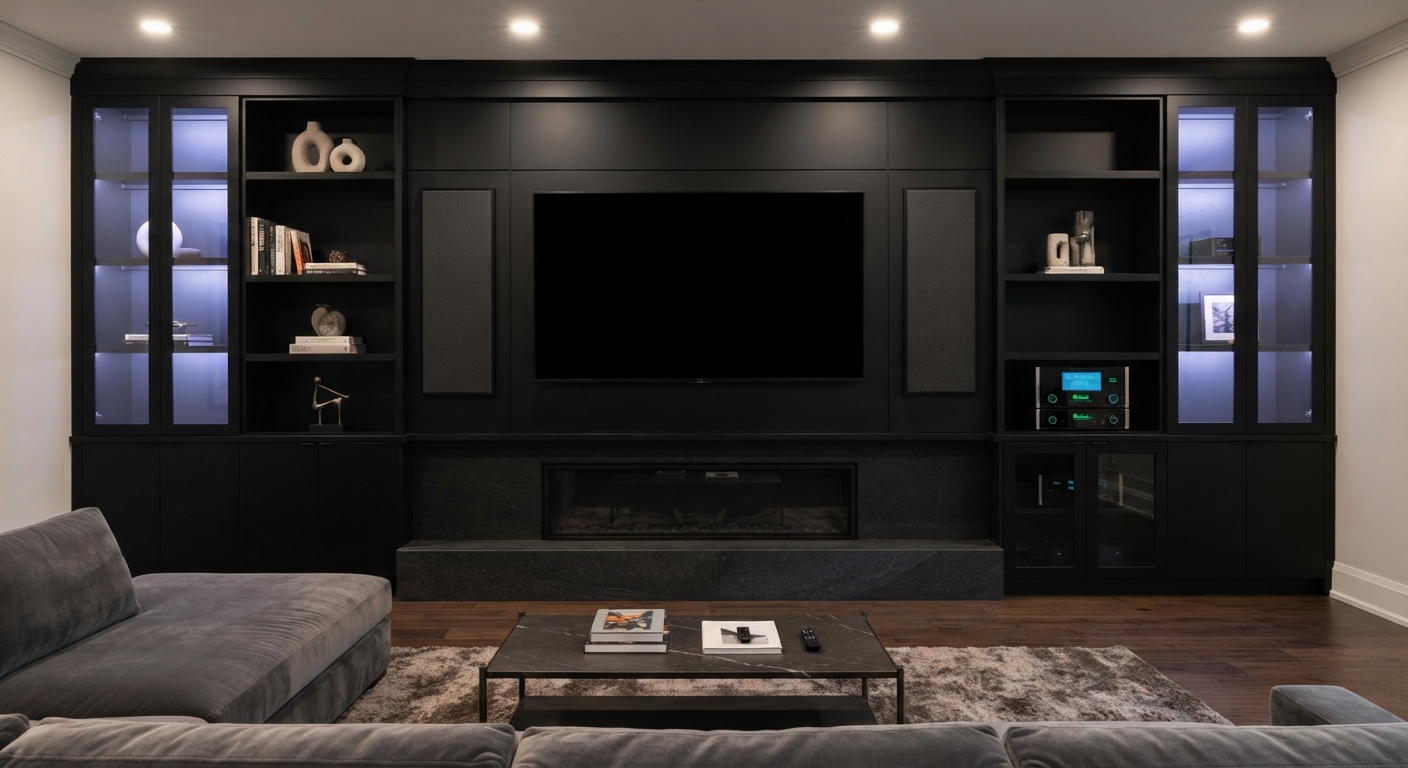
The front wall behind the display and speakers is a key part of the room’s sound. A large, hard surface can reflect sound back toward the seating area. Cabinets, stone-like finishes, painted panels, and wood slats each affect those reflections differently.
Where front speakers sit beside or below the display, their placement and alignment should be considered with the screen and seating, not arranged around the cabinetry alone. In a room using a display screen that allows speakers to sit behind it, treatment can be planned behind the screen as part of the front-wall assembly. With a television or solid display, the available treatment areas around and behind the display depend on the wall construction and speaker layout.
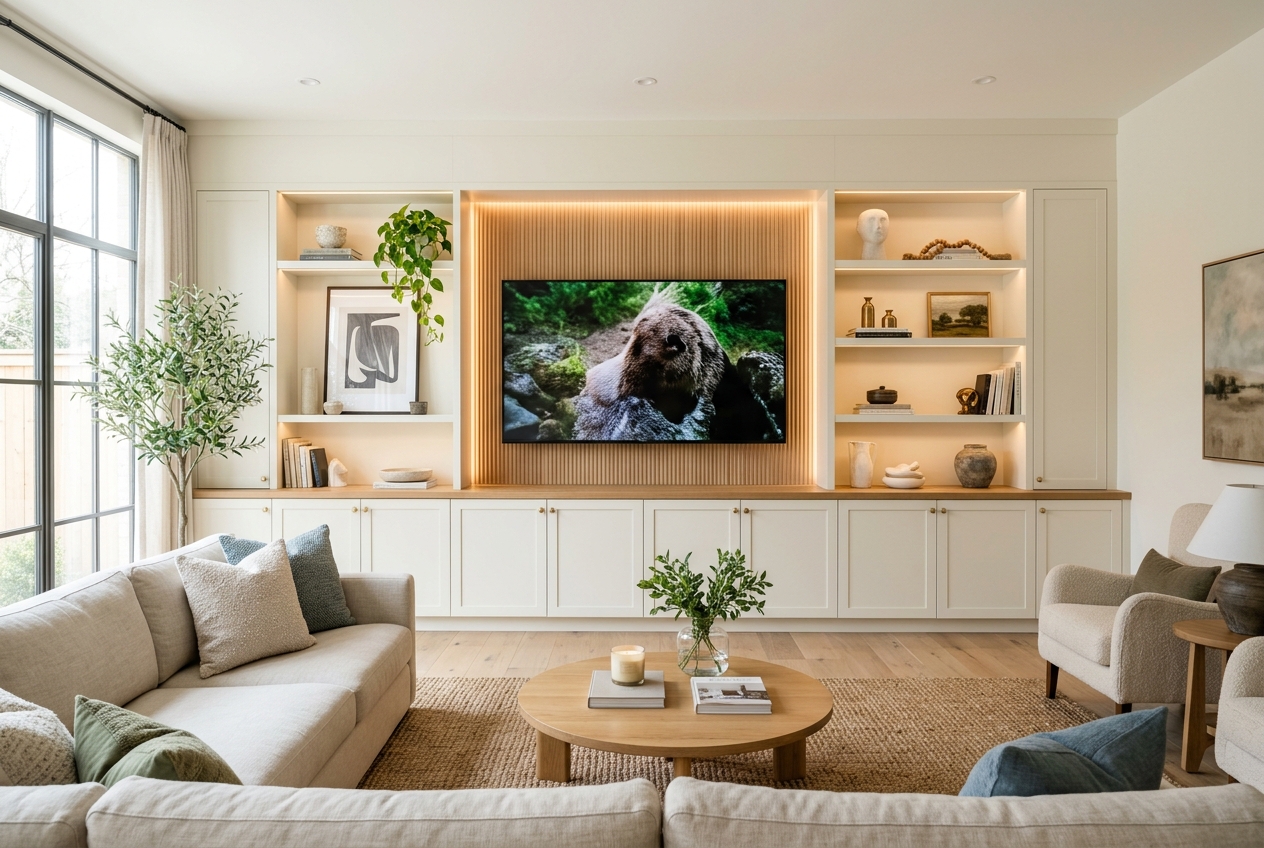
Built-ins add another layer. Cabinet faces, shelves, and niches can create hard reflective surfaces or uneven sound paths. Slat walls and decorative paneling can contribute to a composed design, but their acoustic effect depends on the materials, spacing, backing, and what lies behind them. A visually textured finish is not automatically an acoustic treatment.
3. Use absorption and diffusion for different jobs
Absorption reduces reflected sound energy. It is commonly used at first-reflection points and in other areas where reflections need control.
Diffusion scatters sound in multiple directions rather than absorbing it. It may suit selected areas where the room needs a less direct reflection without making the space feel overly damped. It is not a substitute for absorption at a reflection point, and a decorative slat pattern does not automatically function as a diffuser.
The goal is balance. Treating every wall with the same thin material can reduce some high-frequency reflections while leaving other problems unresolved. The appropriate locations and materials depend on the room’s dimensions, surfaces, speakers, and seating.
Absorption controls. Diffusion scatters.
Select each for a defined location and purpose.
4. Plan the side, rear, and ceiling surfaces
After the front wall and first reflections, assess the other surfaces that influence the listening area.
- Side walls: Place absorption where early reflections reach the primary seating area. In a multi-seat room, consider how the entire listening row affects the useful treatment area.
- Rear wall: The right approach depends on the distance between seats and the wall. A close, hard rear wall can return a strong reflection to listeners; treatment should respond to that condition rather than follow a fixed decorative pattern.
- Ceiling: A ceiling reflection can reach the seats quickly. When appropriate, plan an overhead treatment area around the main listening position and coordinate it with lighting, HVAC, and any ceiling speakers.
- Corners and transitions: A room’s geometry and adjoining surfaces affect low-frequency behavior. Panels intended for reflection control are not a universal solution for bass buildup.
Room treatment changes sound inside the room. It is different from sound isolation, which concerns how much sound passes through walls, floors, doors, and ceilings into other spaces. If keeping cinema sound out of adjacent rooms is part of the project, address the room shell and construction separately.
5. Set the rough-in before finishes
Acoustic planning belongs on the drawing set and in the build schedule. Confirm panel locations, depth, attachment method, and access before closing walls or completing millwork. Framing may need blocking at mounting points. Recessed areas and fabric-covered sections need enough depth for the intended components.
Coordinate wiring for in-wall speakers, subwoofers, the display, and the equipment location while walls are open. For network connections, Cat6 suits standard 1GbE networks, shorter 10GbE runs, and cost-controlled residential or light-commercial applications. Cat6A suits designs requiring 10GbE across a full 100-meter channel, dense cable bundles, higher-power PoE, or greater long-term capacity. Every component in the channel must match the selected category; a structured cabling system performs only to the level of its lowest-rated component.
For custom builds and renovations, our low-voltage prewire service supports coordination before drywall. Organized submittals, plan and schedule coordination, labeled and mapped drops, open-wall photo documentation, and clean as-built handoffs make the work easier to review and maintain. Plan accurately. Install cleanly. Document the work. Deliver intuitive control.
6. Keep the finished wall intentional
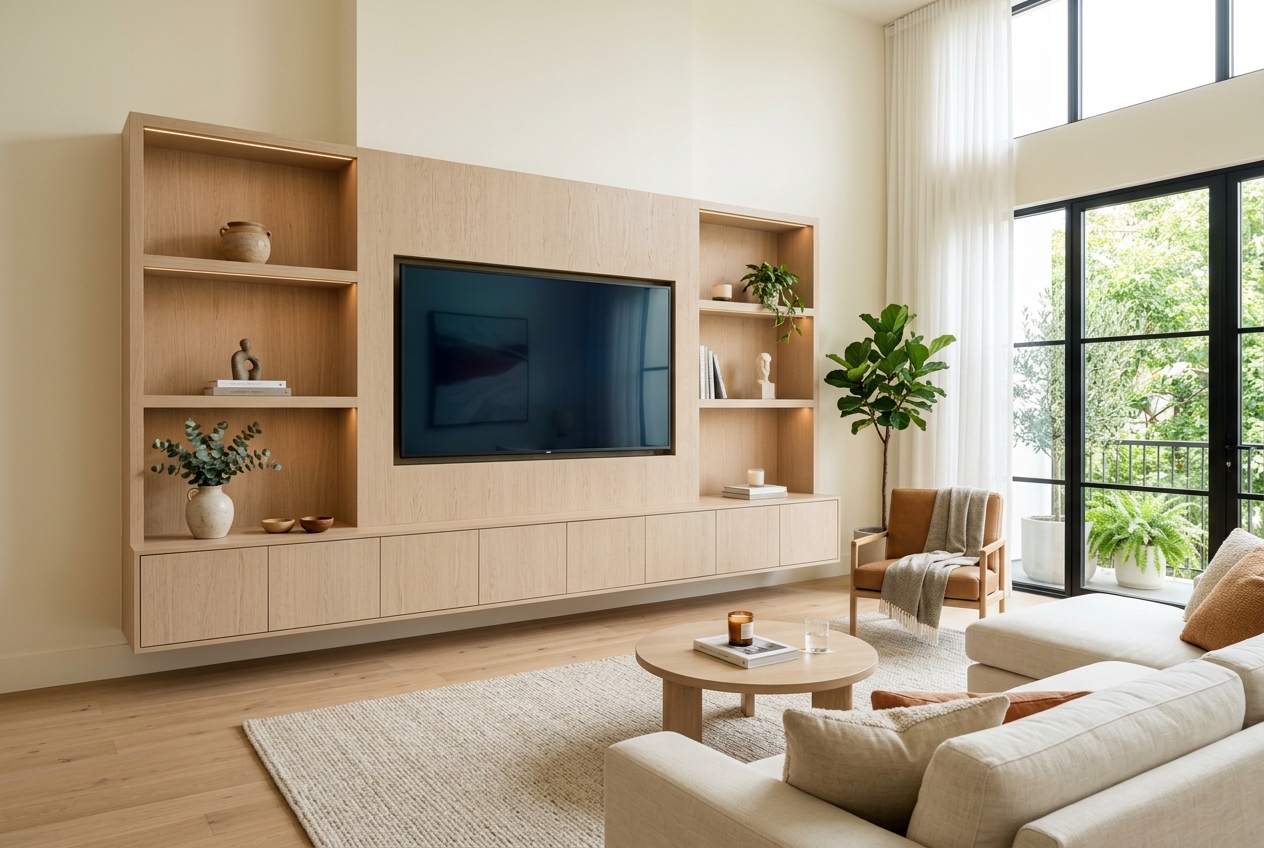
Acoustic control does not require a room to look like a studio. Panels can be selected and positioned to align with cabinetry, trim, lighting, and the display composition. Fabric-covered sections can be integrated into a larger wall design; slats and other hard finishes can be used selectively where they support the overall plan.
Fireplace integration needs early coordination, too. The fireplace, display, speakers, and acoustic materials each have their own placement and clearance considerations. Confirm their relationship during design rather than trying to resolve conflicts after the finished wall is built.
Carolina AV Group’s Horizon architectural TV accent walls, Meridian fireplace-integrated designs, and Pinnacle cabinet, storage, and cinema walls offer different starting points. The right direction depends on the room, the desired display and speaker arrangement, and how the wall should relate to the rest of the home.
Plan the wall as part of the room
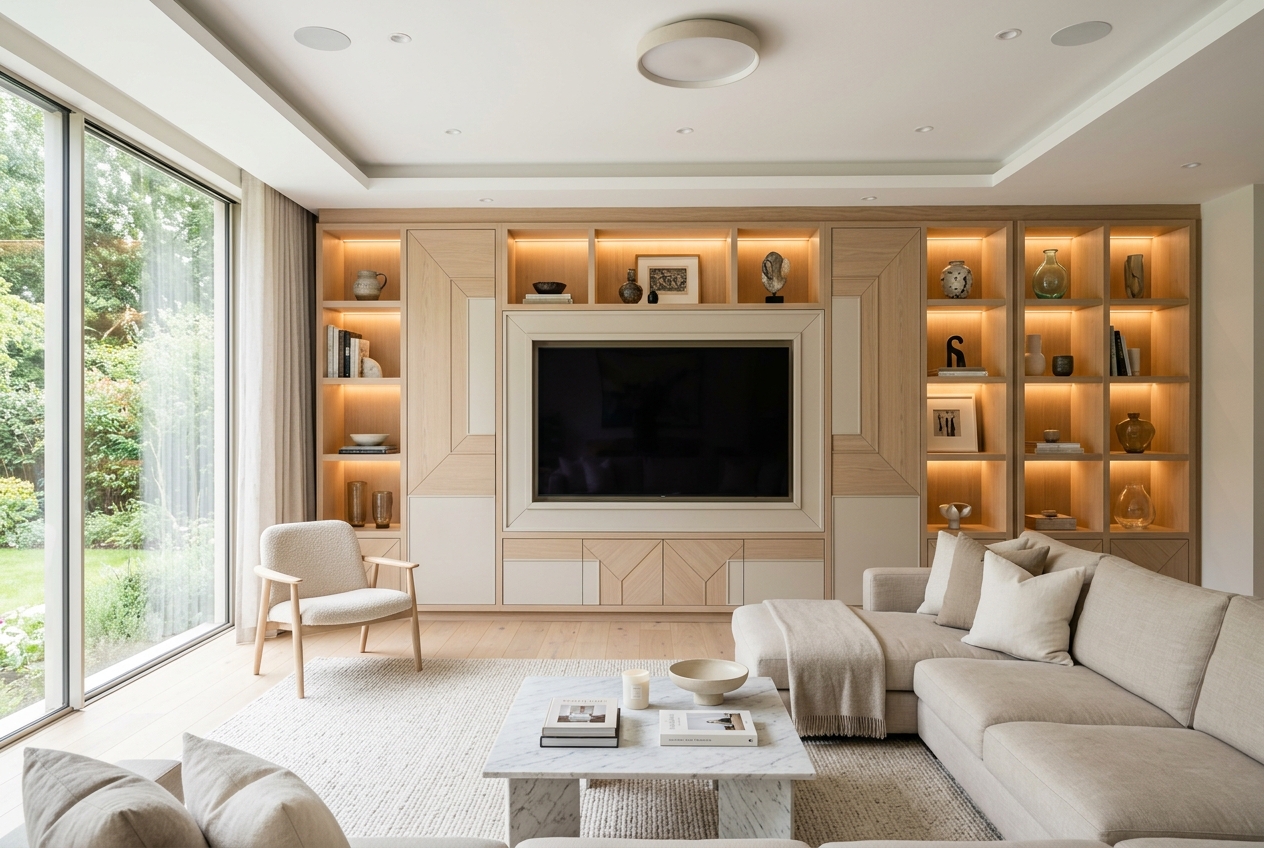
A considered acoustic layout starts with the listening position, then coordinates the display, speakers, panels, framing, wiring, and finishes. That sequence reduces late changes and keeps the completed wall visually composed and practically serviceable.
Carolina AV Group works with homeowners, custom builders, and interior designers across Eastern North Carolina. For a useful first review, send room photos, approximate wall dimensions, display size, seating position, and fireplace preference where relevant. We’ll review the details and return a clear next step.


